
Plan a Week Across Multiple Projects
A project can be manageable, especially with the effective tracking system. The next challenge is when it starts competing with several other projects for the same resources: same people, hours, or equipment. When you review each project separately, that overload is easy to miss. You need to build a manageable and easy-to-review system for the whole week to track how all of your projects work together.
In the previous lesson, you created one current place for a project and a simple way to keep it updated. Now you'll apply the same approach across your active projects. You'll compare the week's workload with real capacity and keep the weekly plan aligned with all the projects' scope and details.
By the end of this lesson, you'll have one feasible weekly view linked to your current project records. It'll show what can realistically happen this week, what needs a follow-up, and any conflict that needs a decision.
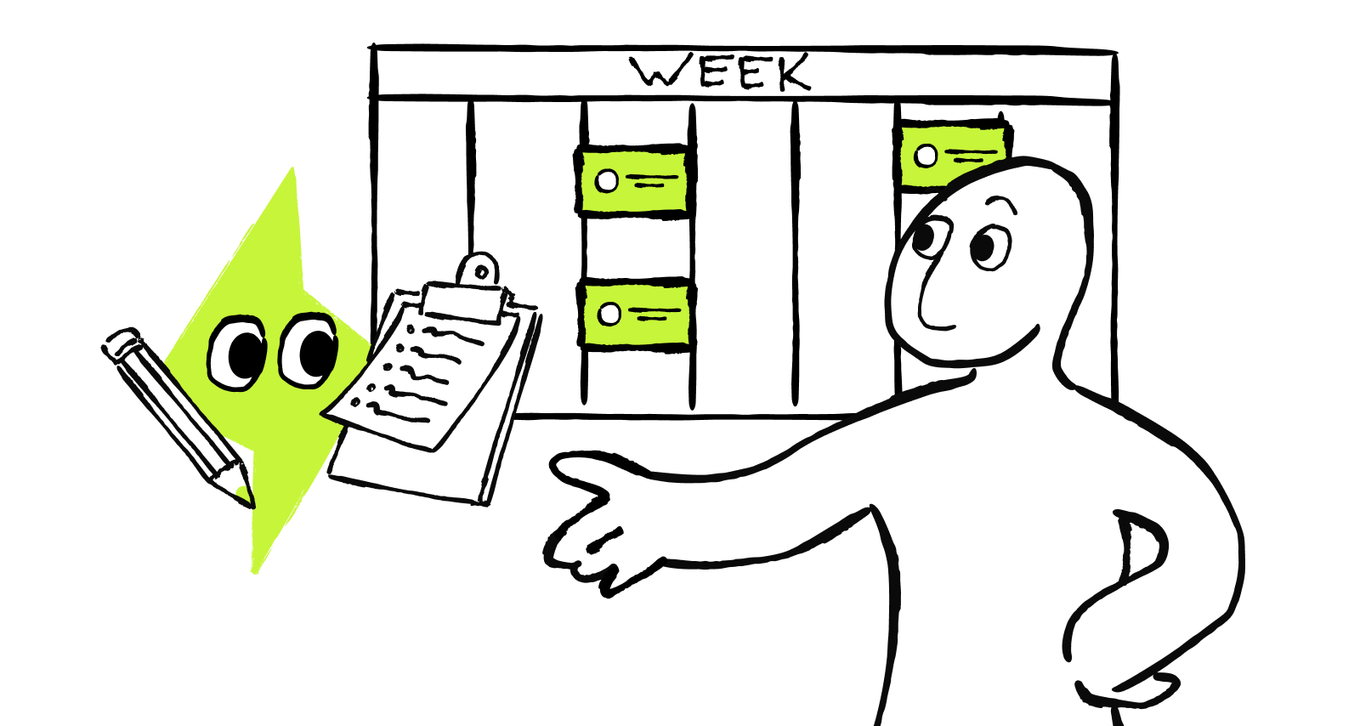
See the Whole Week Across Your Projects
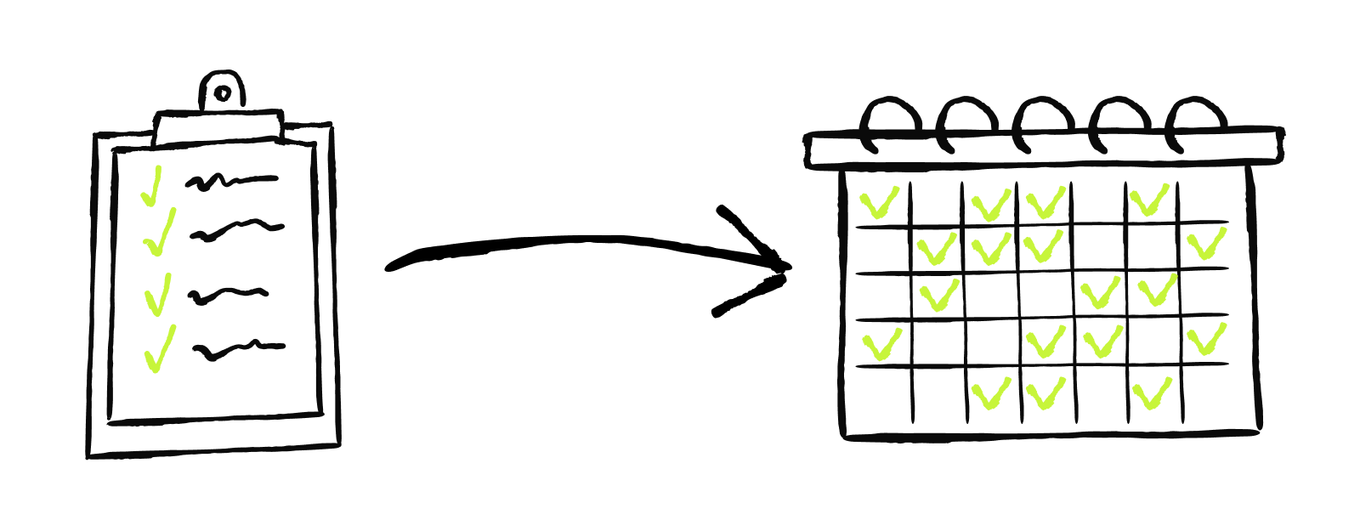
Plan the Week in Four Steps
You may now have several projects in motion, each with its own current tracker. So how do you turn those separate project plans into one realistic week? Start with the system you already use. Your project trackers remain the current record for each project. The weekly view sits above them and answers a different question: What needs attention this week, and does it fit?
Instead of placing every item into the calendar as soon as it appears, use this order:
- Bring in only the work that can affect the selected week.
- Compare each person's active effort with the hours they can actually use for project work.
- Set a clear priority and reason for each item, especially when everything doesn't fit.
- Give executable work a time block and give Waiting or Blocked work a follow-up or unblocking action.
Create One weekly view Across the Projects
Your project tracker or project tabs stay current for each project. The weekly view sits above them and pulls together only the work that may affect the selected week. It shouldn't become another copy of every project plan.
Start with the overview. It collects the work that could need time, a follow-up, or a decision during the selected week. It's not the final schedule yet. You'll set up a schedule with clear priorities at the next step.
Choose the week you're planning, then bring in:
- Work already in progress
- Ready tasks likely to start or finish that week
- Waiting or Blocked tasks that need a follow-up or unblocking action that week
- Unconfirmed work only when someone must make a decision about it that week
Leave distant backlog items out. At this stage, you're gathering possible work, without committing it to the schedule.
Note that not every item needs the same kind of space in the week. A Waiting task may need five minutes for a follow-up, not five days in the plan. A task with an unconfirmed owner may need a decision first.
Keep the weekly view Light and Traceable
Once you've chosen where the weekly view lives and which work belongs in it, add only the details that help you judge ownership, timing, and effort:
- Project
- Task
- Owner
- Status
- Active effort, if known
- Relevant commitment or dependency
- Source link or project tab
- Last checked
You'll add a priority and its reason after the capacity check. If any of these details are missing or conflict with a source, keep the gap visible for review.
Use only the route below that matches your setup.
If You Use an External Task Tracker
Build the weekly view inside the tracker you already use. This keeps the overview connected to the source tasks and avoids creating another system to maintain.
- Make sure every task shows which project it belongs to.
- Create one saved cross-project view, filter, dashboard, or portfolio view.
- Filter it to the selected week and the task states that may need work, a follow-up, or a decision.
- Show only the planning fields listed above and keep links to the source tasks.
If your AI tool has an approved connection to the tracker, it can map the existing fields, collect the relevant tasks, and flag duplicates, missing details, conflicts, or records that may be outdated. If the connection is read-only or unavailable, give AI an export or the relevant task rows and ask it to return the exact setup for you to apply. In either case, review the result against the source tasks.
Build the weekly view in My Task Tracker
If You Use the Spreadsheet Template
If you use the project tracker template from the previous lesson, keep each project on its own tab in the same spreadsheet. Make weekly view the first tab, so you can see the work across all projects before opening the individual project tabs.
- Keep one current project on each project tab.
- Create or refresh the first tab named weekly view.
- Pull in only the work that can affect the selected week.
- Keep the source project tab or row link and the last-checked date with every item.
If your AI tool has approved access to the spreadsheet, it can prepare the weekly view there. If it doesn't, provide the relevant project rows and use the returned preview to update the first tab yourself. The project tabs remain the current records; AI shouldn't change them while building the weekly overview.
Build the weekly view in My Project Spreadsheet
Whichever route you use, check the preview against the source project records before you save it. The overview may already look realistic, or it may show that the work is larger than the week. Either way, the next step is to check the real capacity behind it.
Check Whether the Week Holds the Load
Your weekly view may already look clear and realistic. Sometimes the work fits without changes. Sometimes you'll see immediately that one person has more work than available time. Either way, make a capacity check before you assign priorities or schedule the tasks.
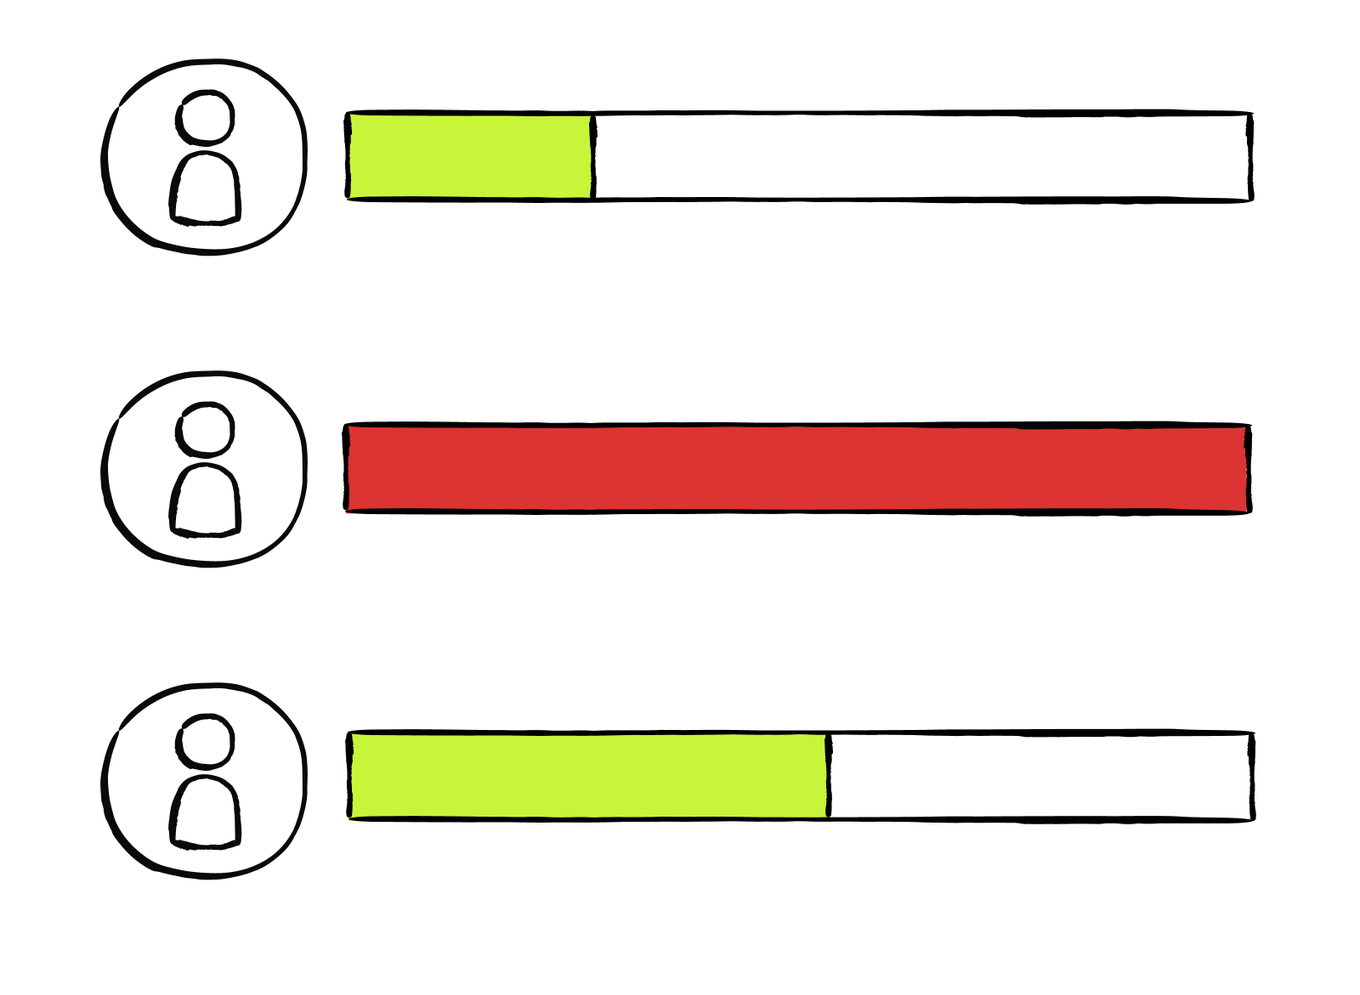
Calculate Capacity for Each Person
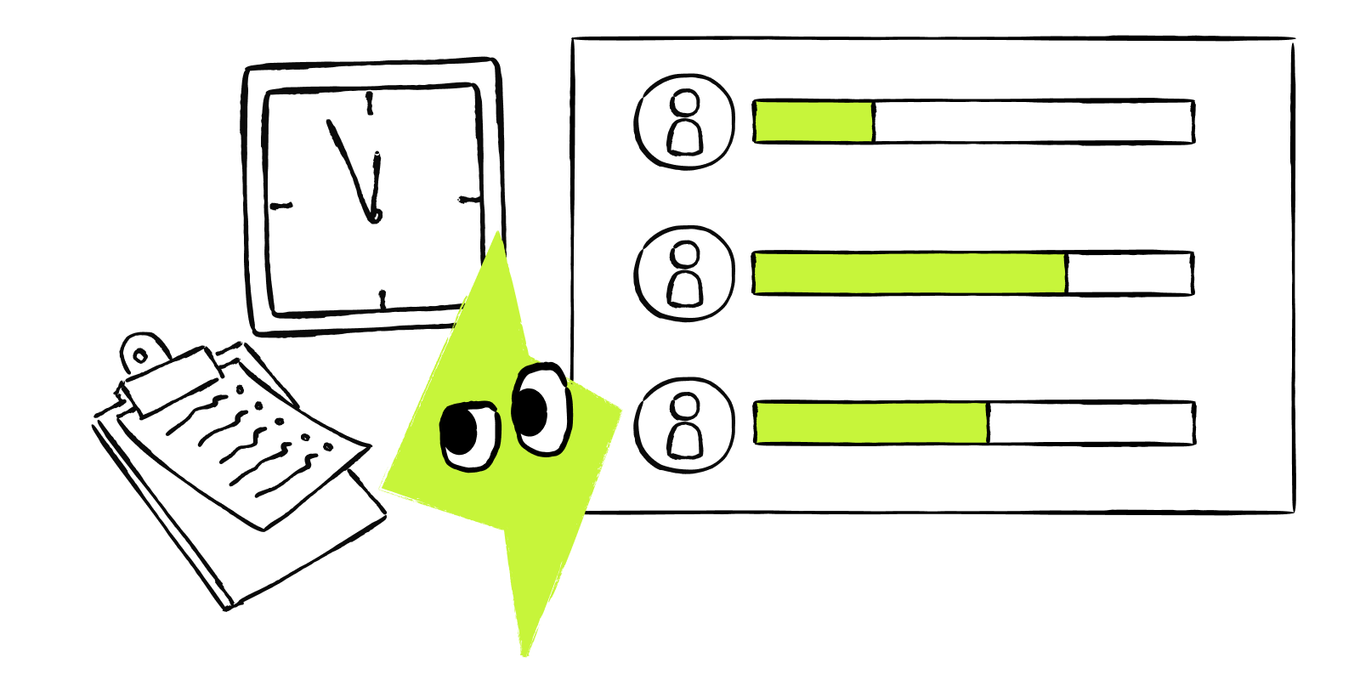
When calculating capacity, work out each person's available project hours separately, including your own. One team-wide average can hide who is actually overloaded.
Start with the hours each person, including you, can actually work during the selected week after time off and other fixed absences. Then subtract routine work and the time you deliberately keep open:
Usable capacity = work hours available this week - routine work - deliberately open time
At this stage, calculate usable capacity from available hours, routine work, and buffer. In the next step, compare the planned project work with that capacity.
Routine work may include sales calls, customer support, administration, or other regular responsibilities. Deliberately open time is space you choose not to book.
Calculate this separately for every person. Free time belonging to one person doesn't solve another person's overload unless the work can be transferred and the new owner accepts it.
Add one short capacity line for each person at the top of the weekly view:
Person - work hours available - routine work - open time = usable capacity; active project effort; time remaining or gap
AI can help with this calculation, just as it helped with the financial check during the project evaluation in Lesson 1. Give it the numbers directly, or let it extract them from your connected trackers, calendars, or other attached planning documents. Ask it to calculate capacity for each person first, then summarize it for the whole week. Any missing input should be marked Needs confirmation.
Estimate Active Effort From Evidence
Use recent records from similar completed work or ask the person doing the task for a realistic range. AI can compare the evidence you provide, but it shouldn't invent a precise estimate. Until a range is narrowed, use its upper end for the capacity check.
Count only the active time the task requires. Placing an order may take 30 minutes even if delivery takes five days. Count the 30 minutes as effort. Keep the delivery time as a waiting condition and add a follow-up if needed.
Check the Resources That Can Limit the Week
Some work also depends on a shared specialist, vehicle, room, or piece of equipment. Include a resource only when it can constrain the week. Check that it's available when needed and that two projects don't rely on it at the same time.
Keep this information in the same weekly view: note when the shared resource is available and flag any scheduling conflict.
Across two projects, the business owner has 16 usable hours and 19 hours of Ready work. A team member has 12 usable hours and 9 hours of Ready work. What does the capacity check show?
If the work fits, priorities help you choose the right order. If it doesn't, record the gap for each overloaded person. Next, you'll use the same priority check to decide what must receive time and what can wait.
Decide What Gets Time First
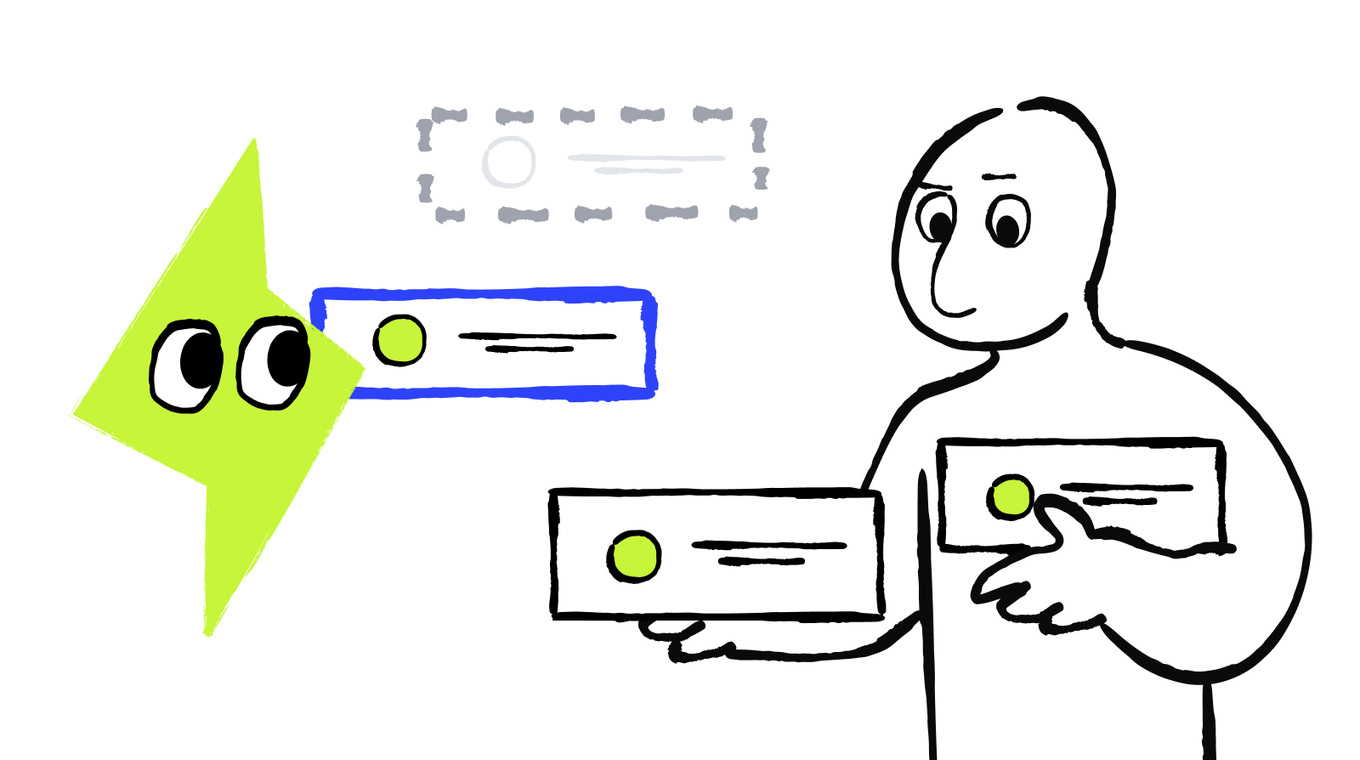
The capacity check tells you whether the week fits. If it doesn't, priorities matter even more: they help you decide where to spend the limited capacity you do have. If it does, they still help you choose the right order and protect important work. Don't squeeze every task into the calendar or use open time automatically. Set priorities first.
Keep the Priority Labels
If your tracker already has priority labels that your team understands, reuse them in the weekly view. You don't need a second priority system.
If you don't have priority labels, you can use this simple set:
- High = must happen this week. The task supports a confirmed commitment, unlocks other time-sensitive work, or prevents a serious consequence this week.
- Medium = do if capacity remains. The task is useful this week, but it can move within already-agreed flexibility.
- Low = can wait. Delaying the task won't affect a current commitment or block other important work.
Use Needs a decision as a separate flag. Add it when two High-priority items still don't fit, or when the current records don't support a safe choice.
For a Waiting or Blocked task, prioritize the follow-up or unblocking action first.
Give Every Priority a Reason
Review each item using four checks:
- Commitment: Is it needed for a date or result that's already been confirmed?
- Dependency: Does it unlock other work that must happen soon?
- Consequence: What happens if it doesn't move this week?
- Flexibility: Is there an already-agreed window in which it can move?
Apply these checks across the whole weekly view. A task can be important within its own project and still rank below a firmer commitment in another.
Treat a requested date as a preference until it is confirmed as a commitment. Check recent or urgent messages against the project record, then set priority based on confirmed commitments, dependencies, consequences of delay, and agreed flexibility.
Make every High-priority label useful by adding one short reason that explains the evidence behind it. For example: “High: Must happen this week because the task must finish before the confirmed Friday handoff.”
When several High-priority items from different projects compete for the same person or resource, compare the reasons behind their labels:
- Protect the confirmed commitment with the least flexibility first. If both commitments are equally firm, favor the task that unlocks other time-sensitive work or avoids the greater near-term consequence.
- Use any already-agreed flexibility for the remaining item.
- When resolving the conflict requires a changed commitment or more evidence, mark it Needs a decision.
In the next lesson, you’ll learn how to resolve more serious conflicts that go beyond these boundaries by comparing options and making a deliberate tradeoff across projects.
Use AI to Compare the Work
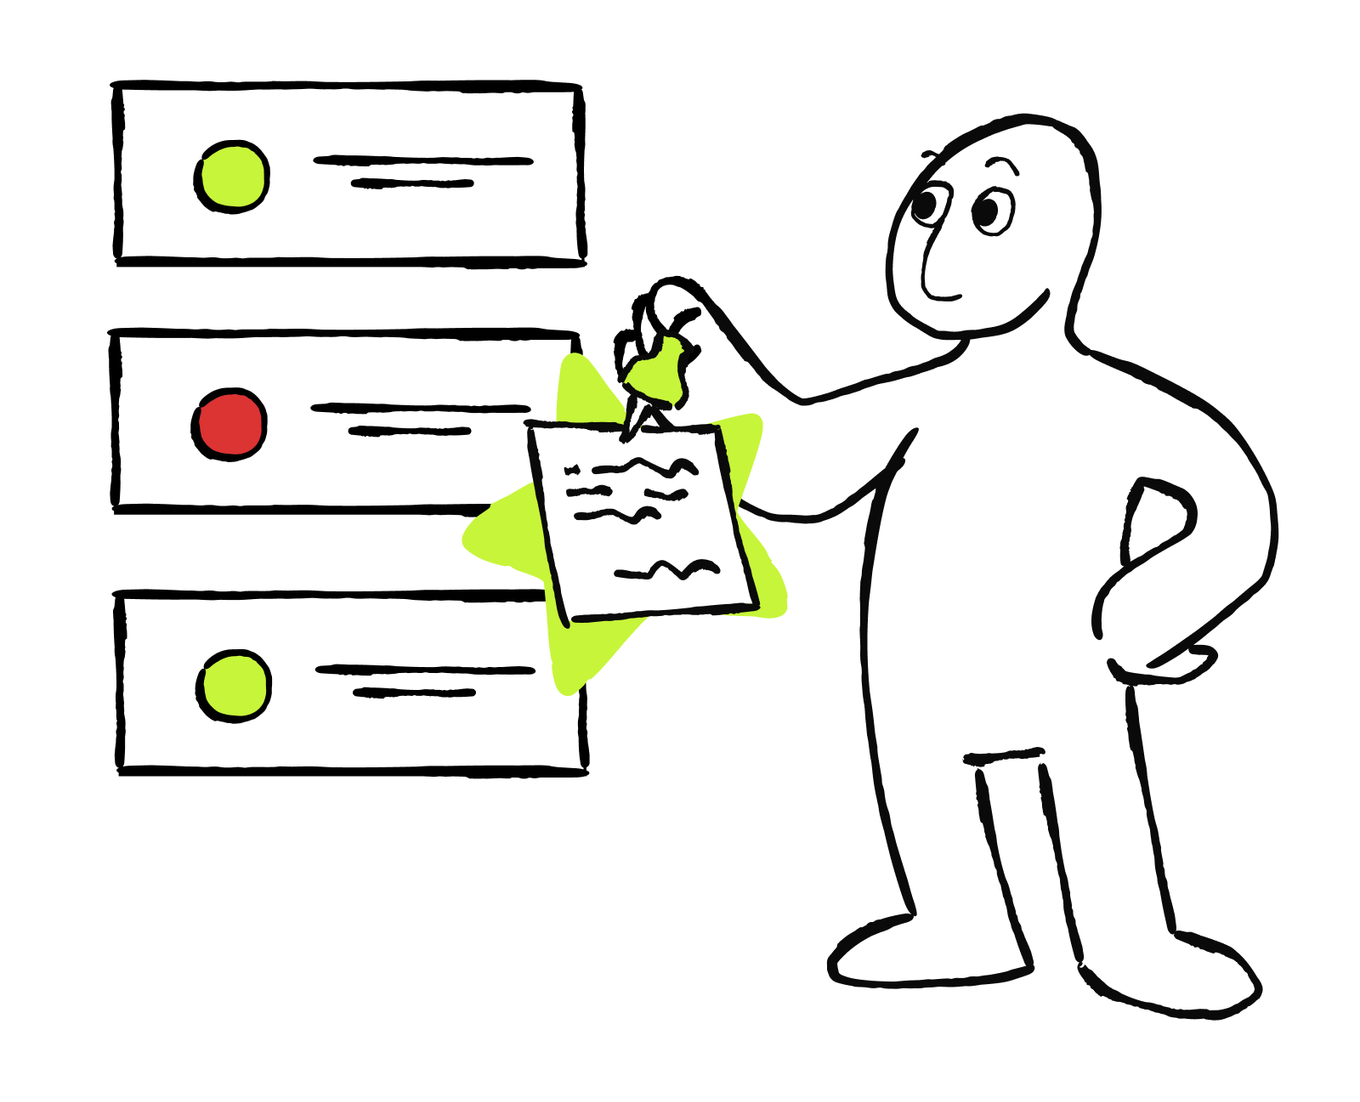
AI can compare the tasks, priority criteria, and capacity gaps across your projects. It can prepare a source-linked priority suggestion and show where even the high-priority work doesn't fit. You review the reasons and make the final call.
AI can suggest moving work within an already-agreed window. It shouldn't change an owner, client date, or promise. If two high-priority commitments still compete, keep the conflict visible as Needs a decision. Further in this course, you'll learn how to compare the tradeoffs and approve a change.
Review and Prioritize the Week
Your weekly view contains items from four projects competing for the owner's time. Which item should be high priority?
You now know what fits, what should receive time first, and which conflict still needs a decision. The final page turns those choices into a workable week.
Build the Week and Keep It Current
You've checked how much work each person can take on and added priorities with clear reasons. Now you'll place the work, check the result, and keep the view aligned with the project trackers.
Give Each Task the Right Place
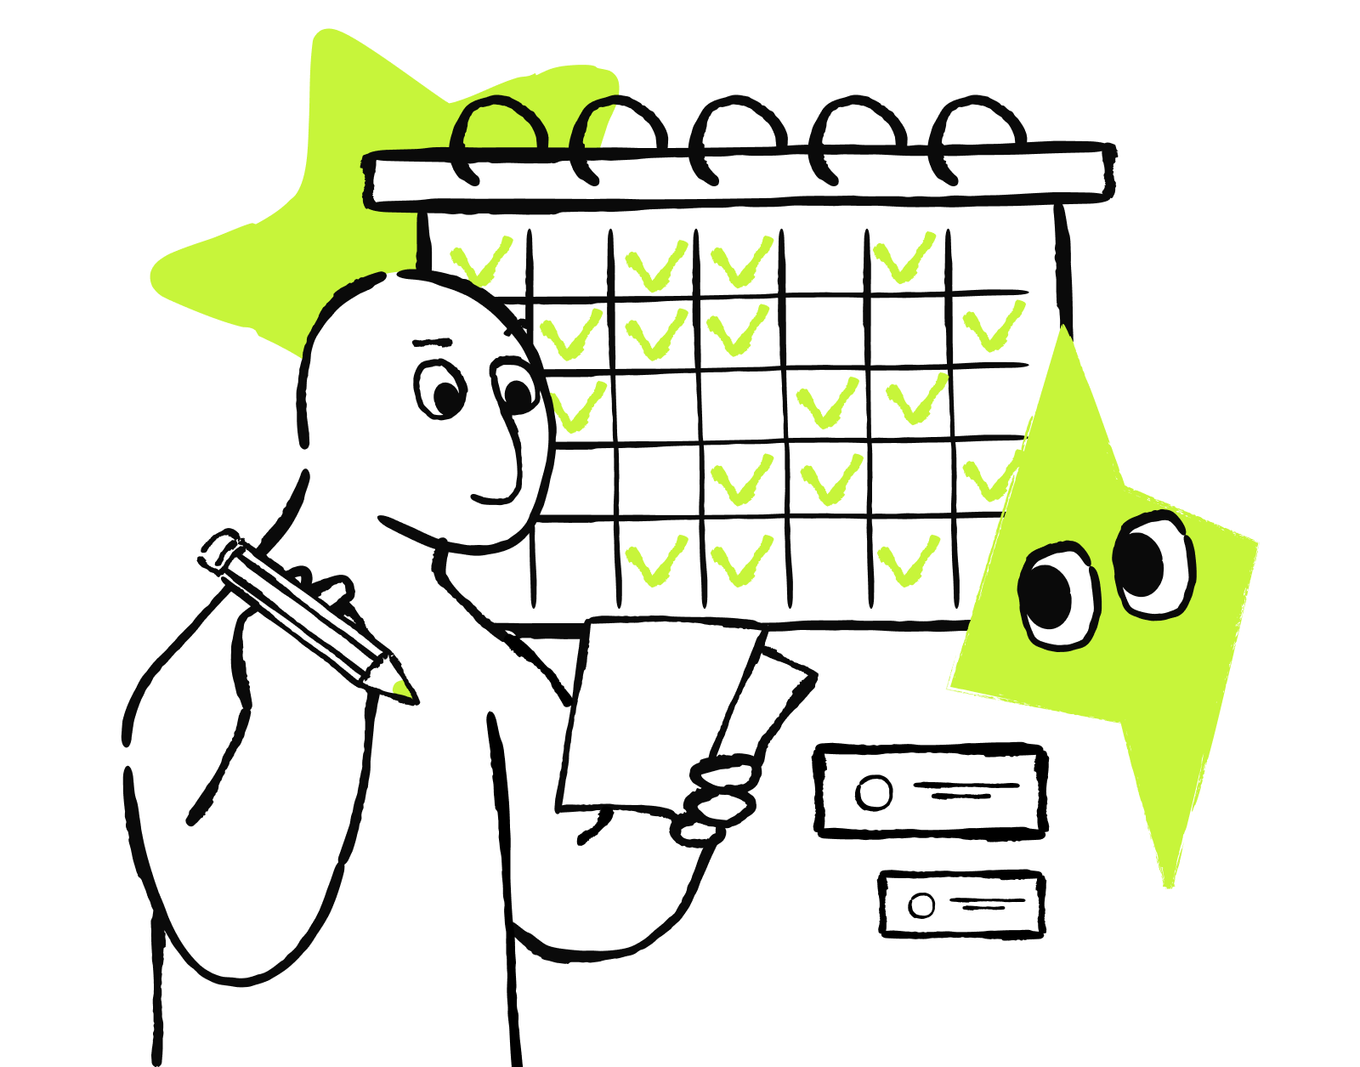
A work block reserves a specific period for someone to do the task.
- Give Ready and In progress work a real work block
- Give a Waiting task a follow-up or next check
- Give a Blocked task a specific unblock action with an owner and time
- Keep work with an unconfirmed owner or required input outside the scheduled work until it's clarified
If a follow-up takes time, count the effort for that follow-up.
Give Each Task the Right Weekly Treatment
Match each task state to what belongs in the weekly view.
Build the Week in a Useful Order
Place the work that must happen this week first, in the right dependency order and with the person who owns it. Add flexible work where capacity remains. Keep work that can wait visible but unscheduled unless there's still room for it.
Move work only within flexibility that's already been agreed. If the high-priority work still doesn't fit, keep the gap visible as Needs a decision. Keep open time visible, review any proposed change to a commitment, and confirm that another person can take the work before using their available capacity.
The capacity lines at the top of the weekly view now show how much active effort you've scheduled and whether anyone still has a gap. Below them, add the approved priority, priority reason, and work block or follow-up to the task rows from earlier in this lesson.
Save the weekly view Where the Work Already Lives
Save the final view in the destination you chose earlier: a cross-project view in your tracker or the first weekly view tab in your project spreadsheet. If AI has an approved connection, it may be able to prepare the update there for your review.
Build and Stress-Test the weekly view
Review the preview against the source records before you use it.
Run a Short Weekly Health Check
Before you confirm or refresh the week, check:
- Does every task that must happen this week, and every protected commitment, have an owner and enough time?
- Is every person within their own usable capacity, with no shared resource double-booked?
- Are dependencies in a workable order?
- Do Waiting and Blocked tasks have a next action?
- Is deliberately open time still protected?
- Does the view still match the linked project records, with every “Needs a decision” item and unresolved gap clearly visible?
If the view passes these checks, the plan fits what you currently know.
Keep the weekly view Linked to the Trackers
If planning confirms a real change to an underlying task, such as its owner, status, date, effort, or dependency, update the project tracker first, then refresh the weekly view. Don't copy every weekly scheduling choice back into the tracker unless it changes the task record itself.
If AI can prepare the source update, review it before it's applied and check the tracker afterward. Otherwise, make the approved change yourself. If only a work block changes, keep that adjustment in the weekly view or calendar. Treat an internal scheduling choice as a working plan, and reserve project deadlines for dates that have been confirmed as commitments.
Automate the Weekly Health Check
The health check reviews the whole weekly view to confirm that it still matches the project trackers and works as a plan.
Run the health check after you first build the week, after an approved update to a linked project tracker, or on a regular schedule during a fast-moving week. If your AI tool supports automations and has approved access to the relevant records, you can set this up once. Keep it in preview-only mode: it should report gaps, not fix them by itself.
If your tool can't automate the check, save the prompt and run it manually. Test it with one known problem and one plan that should pass before using it on current project data.
Use the Daily Brief to Trigger a Weekly Health Check
The daily brief from the previous lesson surfaces new information within each project and flags anything that may need attention. Those findings can trigger a weekly health check. You can set up the brief as the trigger for the weekly health check in the prompt above.
Review each change first. If it supports a factual update, update the project tracker, refresh the weekly view, and run the health check again. If it may affect capacity, a dependency, a date, a protected commitment, or another project's plan, keep it visible as Needs a decision. In the next lesson, you'll learn how to assess that change and choose a tradeoff.
Don't let either automation reschedule work or approve a tradeoff. If nothing meaningful changed and the health check passes, leave the plan alone.
Now you've got all the parts of a workable weekly routine. Put them in order to see the full flow.
Build a Week That Fits
Put the steps in the order used throughout this lesson.
- Schedule work blocks, follow-ups, and unblock actions.
- Select the week and pull in only relevant work.
- Stress-test capacity, dependencies, resources, and open time.
- Set priorities and add a reason for each.
- Update confirmed source changes, refresh the view, and flag conflicts.
- Confirm effort and each person's usable capacity.

You began with several current projects and weren't sure whether their overall scope is realistic for the week. Now you have a clear vision of your weekly workload. You can now bring the relevant work into one linked weekly view, check real capacity, give time to the right work, and keep the view aligned with your project trackers.
This helps you catch overload before it becomes a missed deadline, and without creating another planning system that quickly becomes outdated.
In the next lesson, you'll use this current view when new information makes the week stop fitting. You'll assess what changed, compare realistic options, make the necessary tradeoff, and communicate only after you've approved the decision.

Next · Lesson 4