
Find Bottlenecks in Business Operations With AI
Find the Real Bottleneck Before You Automate
In the previous lesson, you chose one process to improve. Now the question is how to automate it successfully to reduce the friction and bottlenecks you or your team face. The answer starts with understanding how work moves in your business — where it slows down, gets repeated, or requires too much manual effort.
You already have the initial scope in your Automation Opportunity Map. In this lesson, you’ll understand the current workflow, identify the likely bottleneck, and decide what still needs checking before choosing an AI setup. This will give you a grounded starting point for the delegation pilot in Lesson 3.

Each part of this lesson will create or confirm one input for the workflow you’ll automate — from the current process and evidence to the likely cause of the bottlenecks you have. The final result will show which problem the automation should solve and give you a grounded starting point for choosing and testing the selected workflow.
How to Define a Workflow For The Selected Opportunity
To build the workflow and define how this process should work, provide:
- The opportunity and automation scope from the previous lesson
- The main bottleneck, what may be causing it, and what part of the process could be delegated
- A clear picture of how the workflow works today with the delegation boundary
A slow or error-prone process doesn’t always show you what needs to change. The problem you notice first may only be a symptom. For example, you may see delays in completing requests. But the real bottleneck could be an approval step where work keeps piling up. And that bottleneck may exist because only one person can review requests.
The goal is to trace the problem through the workflow:
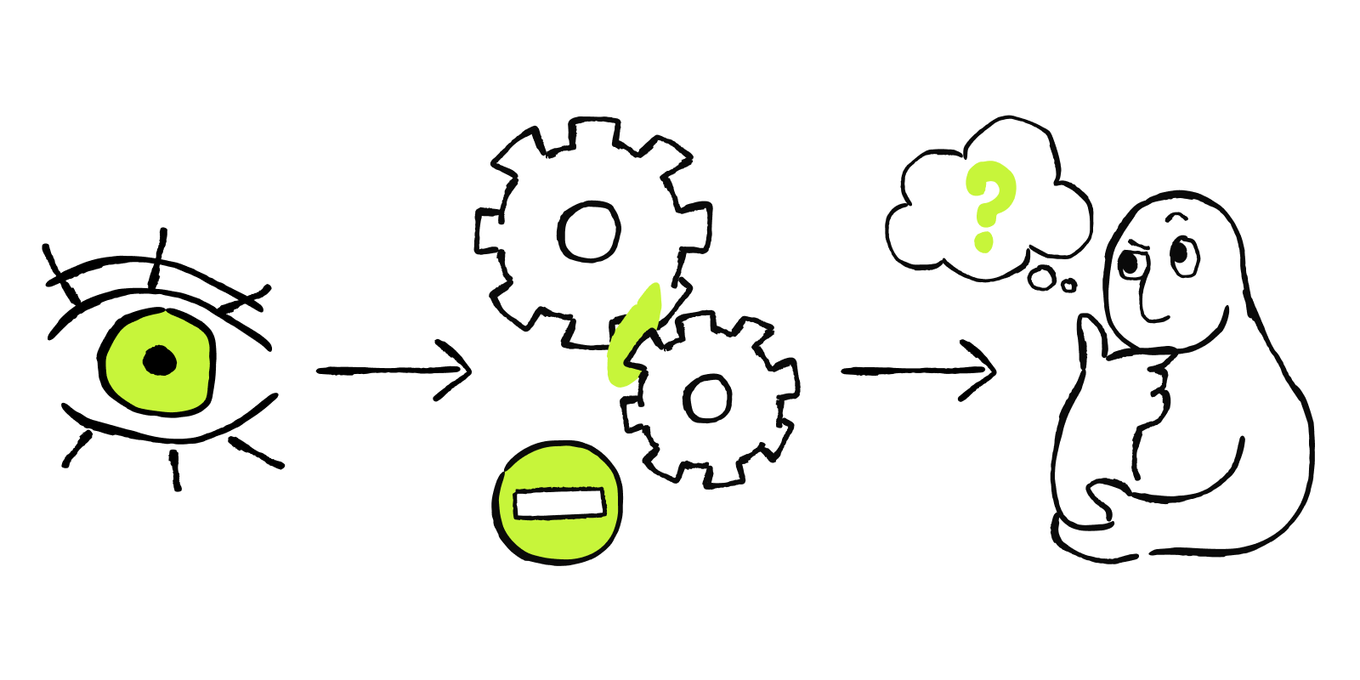
What do you see? → Where does the work get stuck? → Why does it happen?
In other words, you need to define the symptoms, identify bottlenecks, and find the root cause.
Check What’s Causing the Bottleneck
When looking for the root cause, don’t stop at the first pattern you notice. Check whether the evidence actually supports your explanation.
For example, an online shop may receive more customer complaints on days when it runs promotions. That’s correlation: the two things happen together.
The promotion may cause more complaints because it brings in more orders, which can lead to longer delivery times or more mistakes in order processing. That’s causation: the promotion directly contributes to the increase in complaints.
Correlation can point you toward a possible cause, but it doesn’t prove it. Treat it as a hypothesis and check the evidence before deciding what to change or automate.
Map the Full Workflow
A process that looks simple at first often includes waiting, returns, and decisions that aren't visible at first glance.

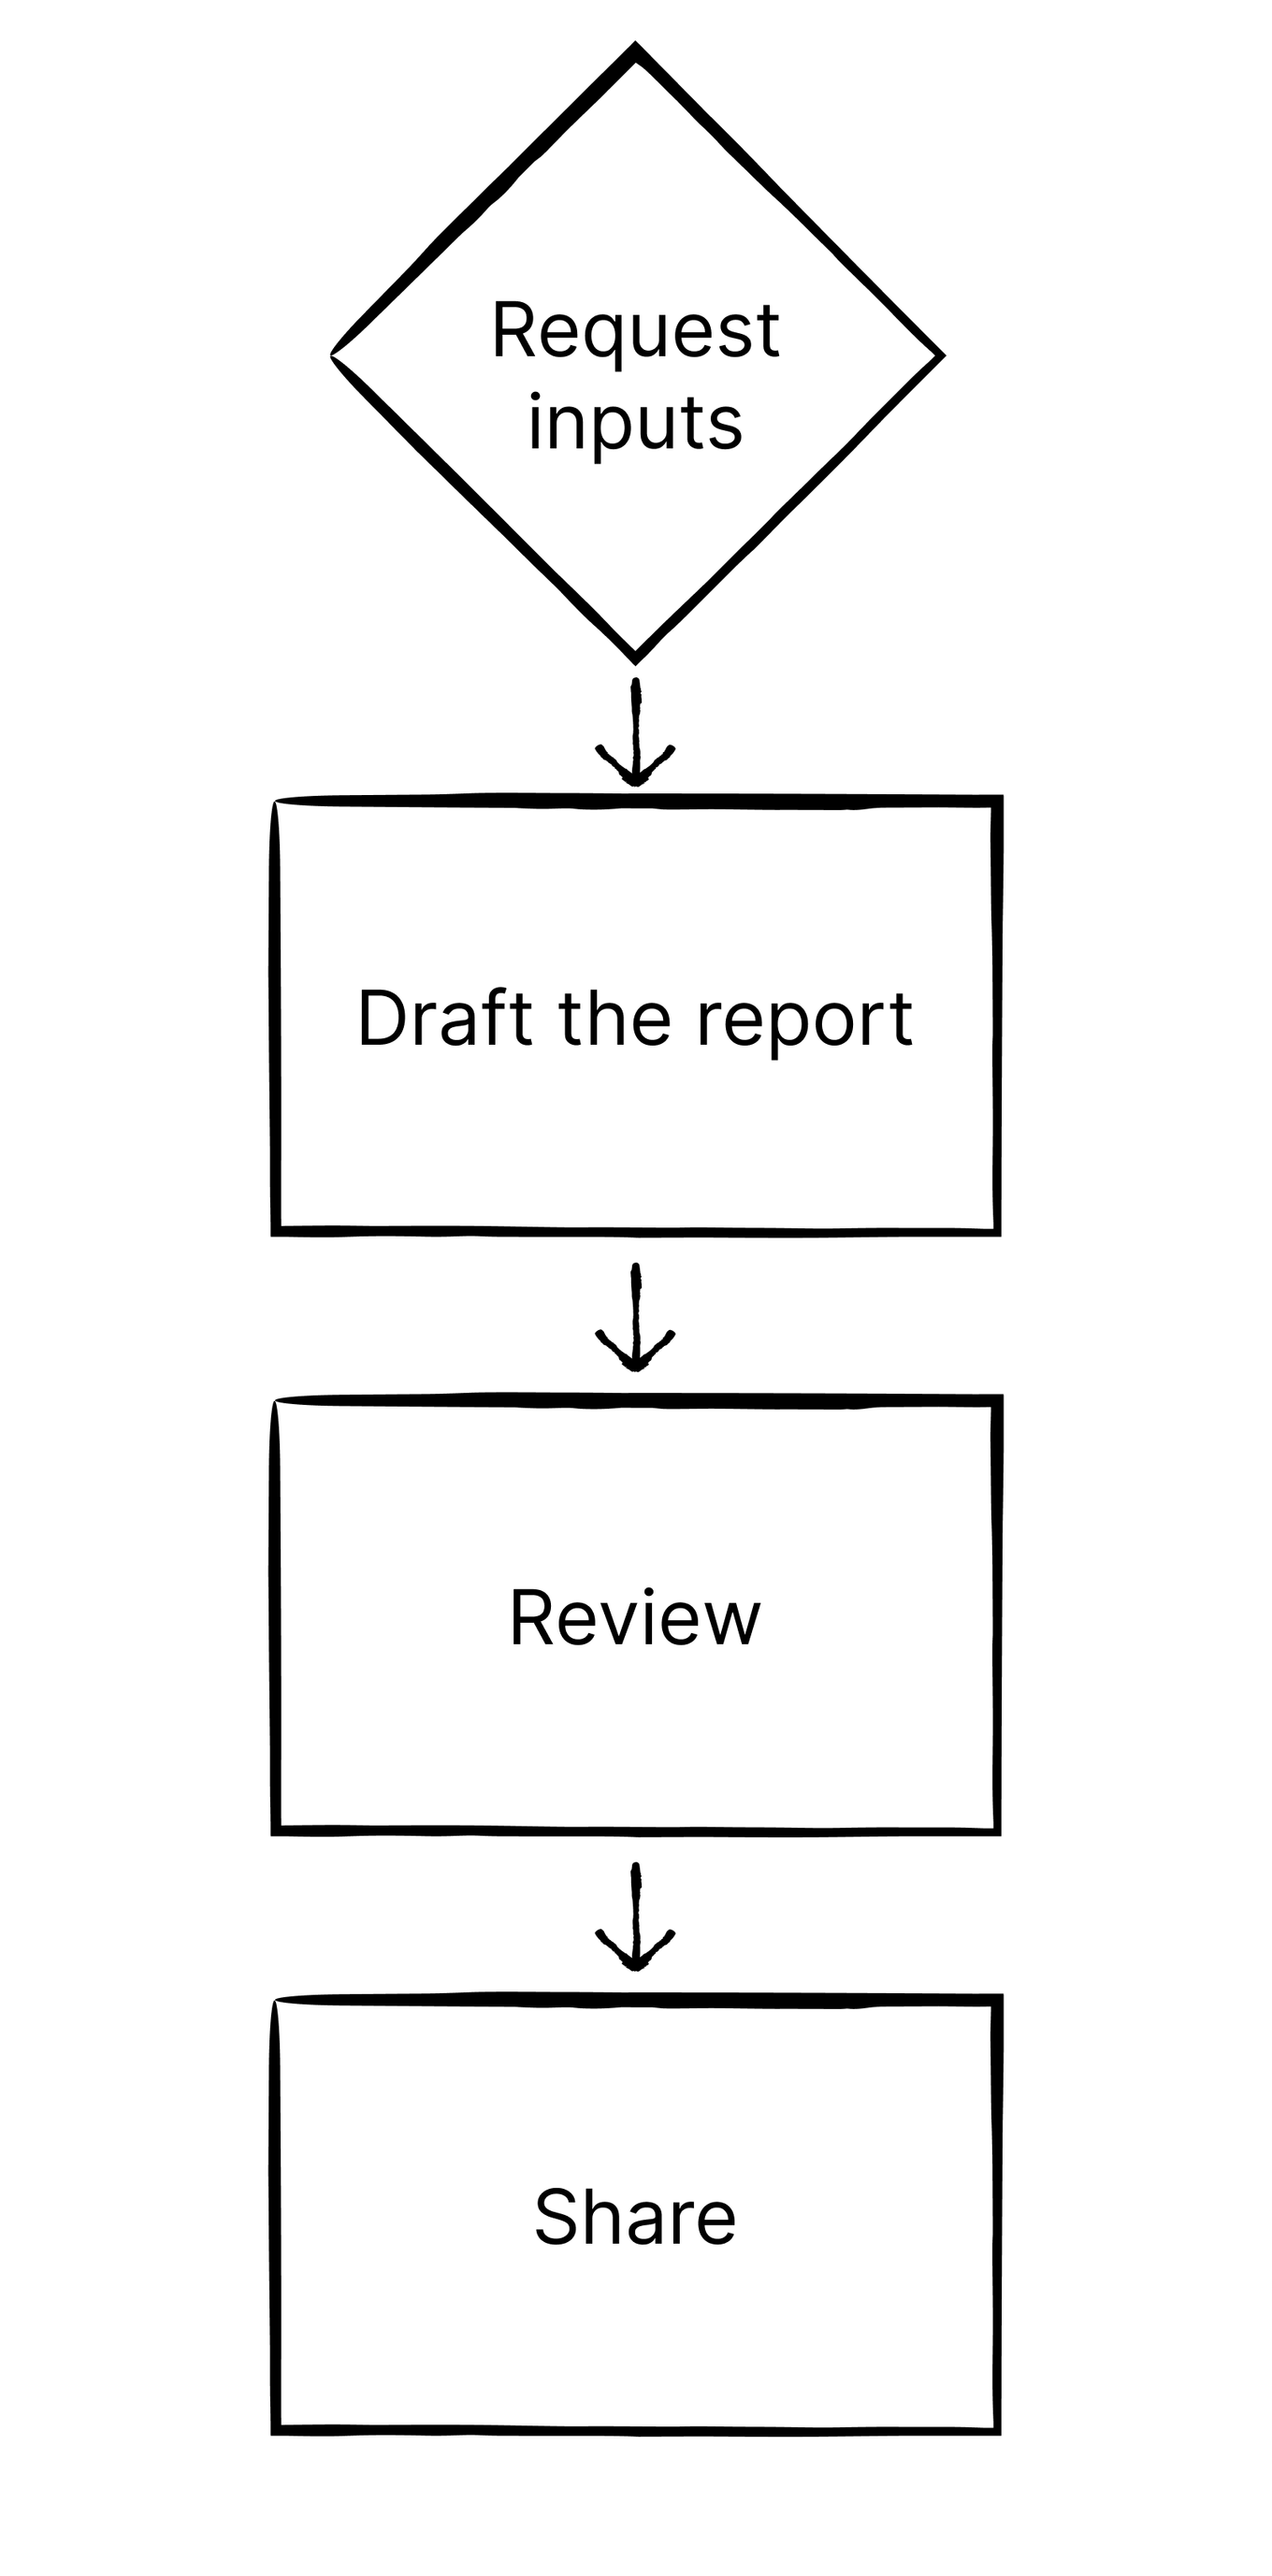
Take a closer look at the weekly reporting you saw earlier. The team maps the full process to see what happens before the 30-minute drafting step. Making these branches visible helps reveal where the delay begins.
At first glance, the reporting workflow looks like this:
The actual workflow has more branches:
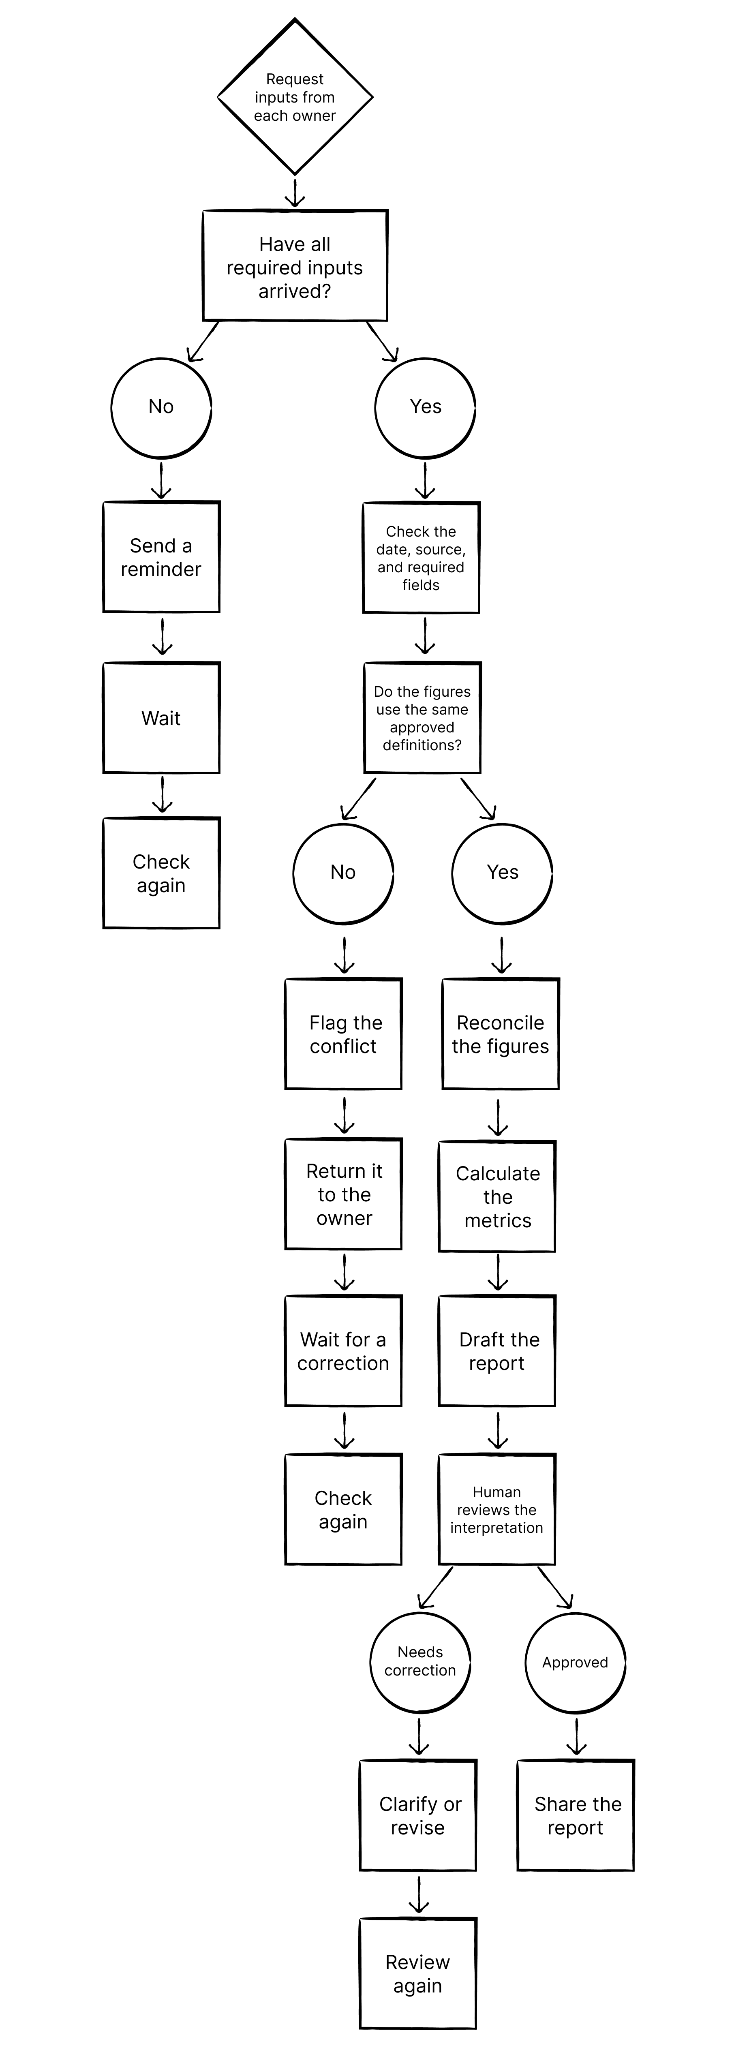
Now the source of the delay is easier to see. The draft itself may take only 30 minutes, while late inputs, conflicting figures, and repeated corrections can hold up the process for much longer.
Making the final step faster won’t fix delays that happen earlier. To find the right automation target, you need to see the whole workflow first.
Sketch the process in a simple flowchart, then mark where work waits, returns to an earlier step, or has to be repeated. Note the likely bottleneck, one fact that supports it, and what you still need to check. You’ll explore these further in this lesson.
The flowchart is a working input, not another document you need to maintain. You can share it with AI as structured text, a readable diagram, or through an authorized connection. AI can point out missing branches, repeated handoffs, and possible delegation points. You still decide which suggestions fit the scope and permissions you set earlier.
Trace the Problem
Arrange the steps for finding what's actually breaking the process.
- Use available evidence to identify the likely bottleneck
- Form a root-cause hypothesis and decide how to test it
- Map the full workflow, including branches and exceptions
- Mark where delays, errors, queues, or repeated corrections appear

Support the Bottleneck With Evidence
The final things to consider for your workflow are a likely bottleneck, a leading hypothesis, and one credible alternative — all with supporting evidence.
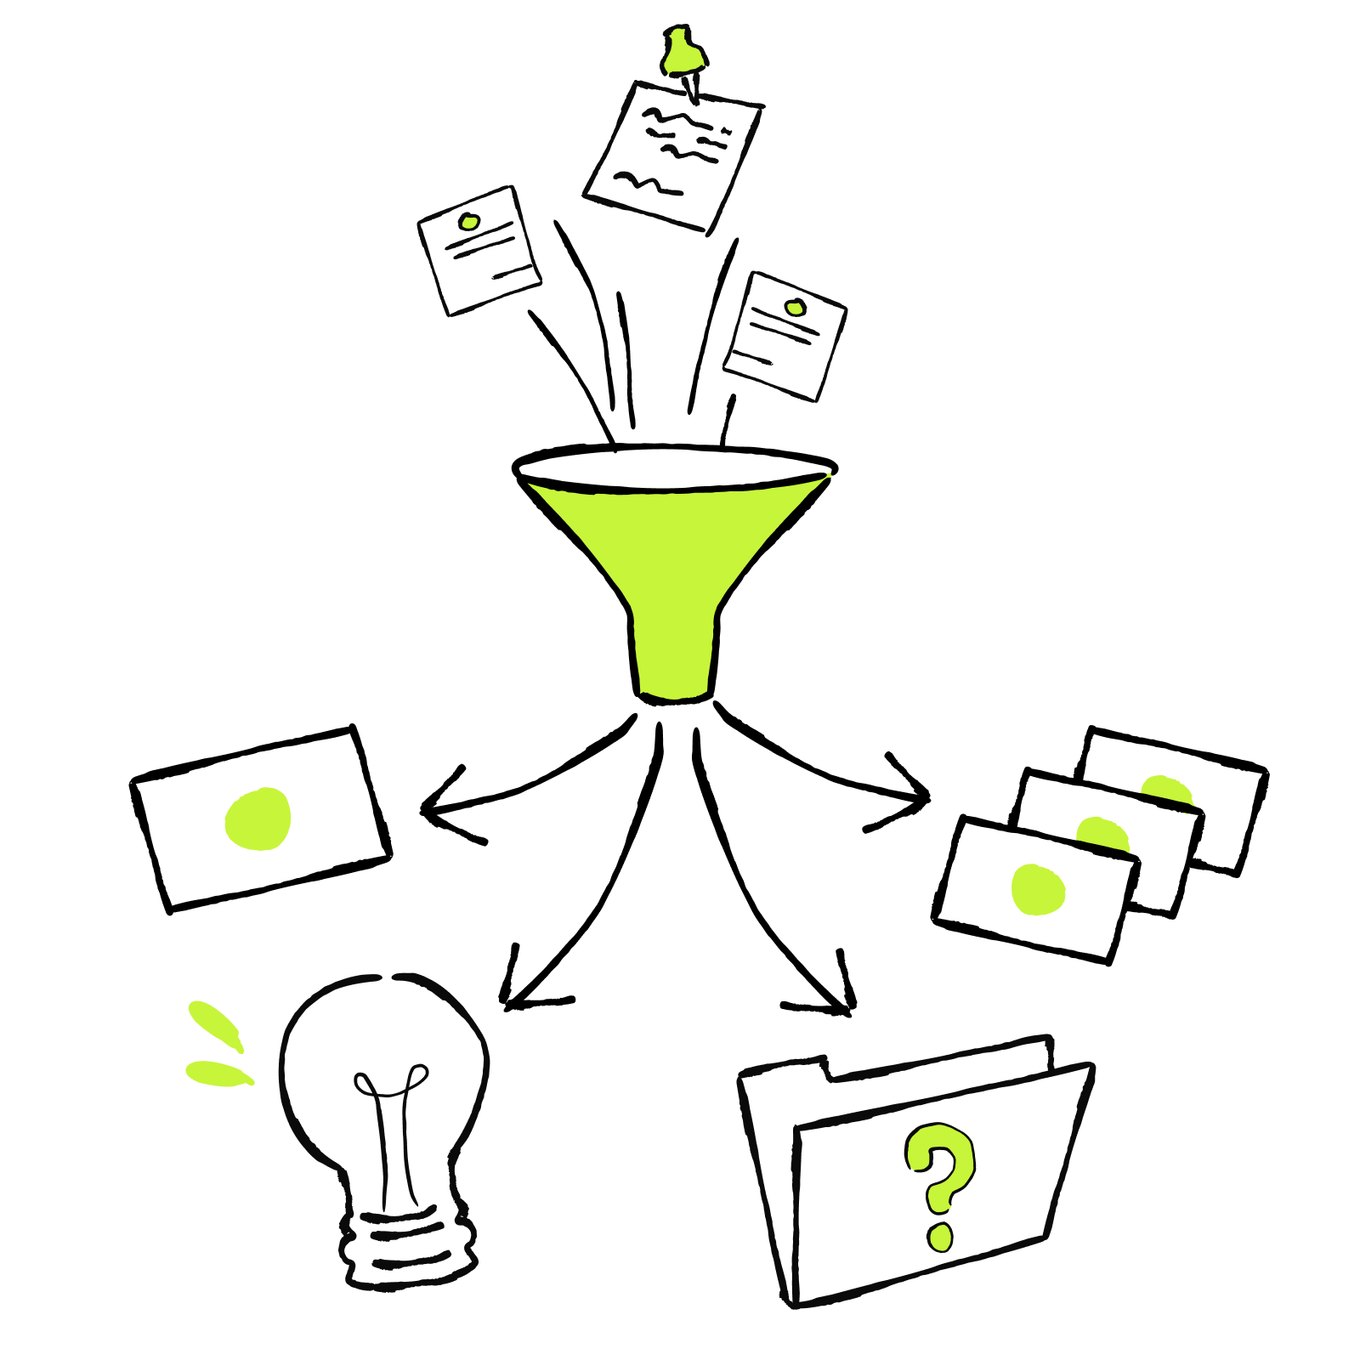
Separate the information into four types:
- A recorded fact describes one case.
- A repeated pattern appears across several cases.
- A hypothesis suggests why the pattern occurs.
- An evidence gap shows what you still need to investigate.
Match Each Finding to Its Meaning
Connect each statement with the correct label.
Use AI to Compare Cases
Your job is to use approved workflow records and inputs from the people doing the work. In turn, AI can:
- Compare on-time and late cases
- Calculate how long each step took
- Group common reasons for missing data and corrections
- Highlight where work repeatedly waited or moved backward
AI organizes the evidence and points to areas worth investigating. You verify the records and decide whether the proposed explanation makes sense. You don’t need months of perfect records to start. A few recent cases, emails, timestamps, or notes can help you spot where work waits, returns, or needs correction.
Test the Likely Cause
At the final stage, compare the explanations using three checks:
- Timing: Did the suspected cause happen before the delay?
- Contrast: Was the delay more common when that factor was present?
- Mechanism: Can you trace how the factor created waiting or repeated work?
Afterward, you have enough data to act on and identify the root cause for the bottleneck you found and verified.
Which comparison would best test why the weekly report is late?
You now have all the information needed to finalize the workflow. Turn any remaining evidence gap into a next check, name the responsible reviewer, and paste all the details you built across the last two lessons.
Organize the Diagnosis
For easier review and handoff, you can formalize your diagnosis in a Bottleneck Brief — a compact record that brings your workflow findings into one place. It shows where work gets stuck, what may be causing it, what evidence supports the explanation, and what still needs to be checked.
AI can organize your workflow notes and evidence into a clear first draft. You check the facts and make the final diagnosis. You can use the prompt below.
You’ve moved from a visible problem to a supported diagnosis. You can now name the likely bottleneck, explain what may be causing it, and identify what you still need to check. This helps you avoid automating the most visible task while the real problem is still there.
Carry the likely bottleneck, supporting evidence, credible alternative, and delegation boundary into the next lesson. They’ll help you compare possible AI setups and choose a focused workflow to pilot.
In the next lesson, you'll build your tested delegation, compare different ways AI could complete your workflow, and choose the best setup for your case.
Next · Lesson 3